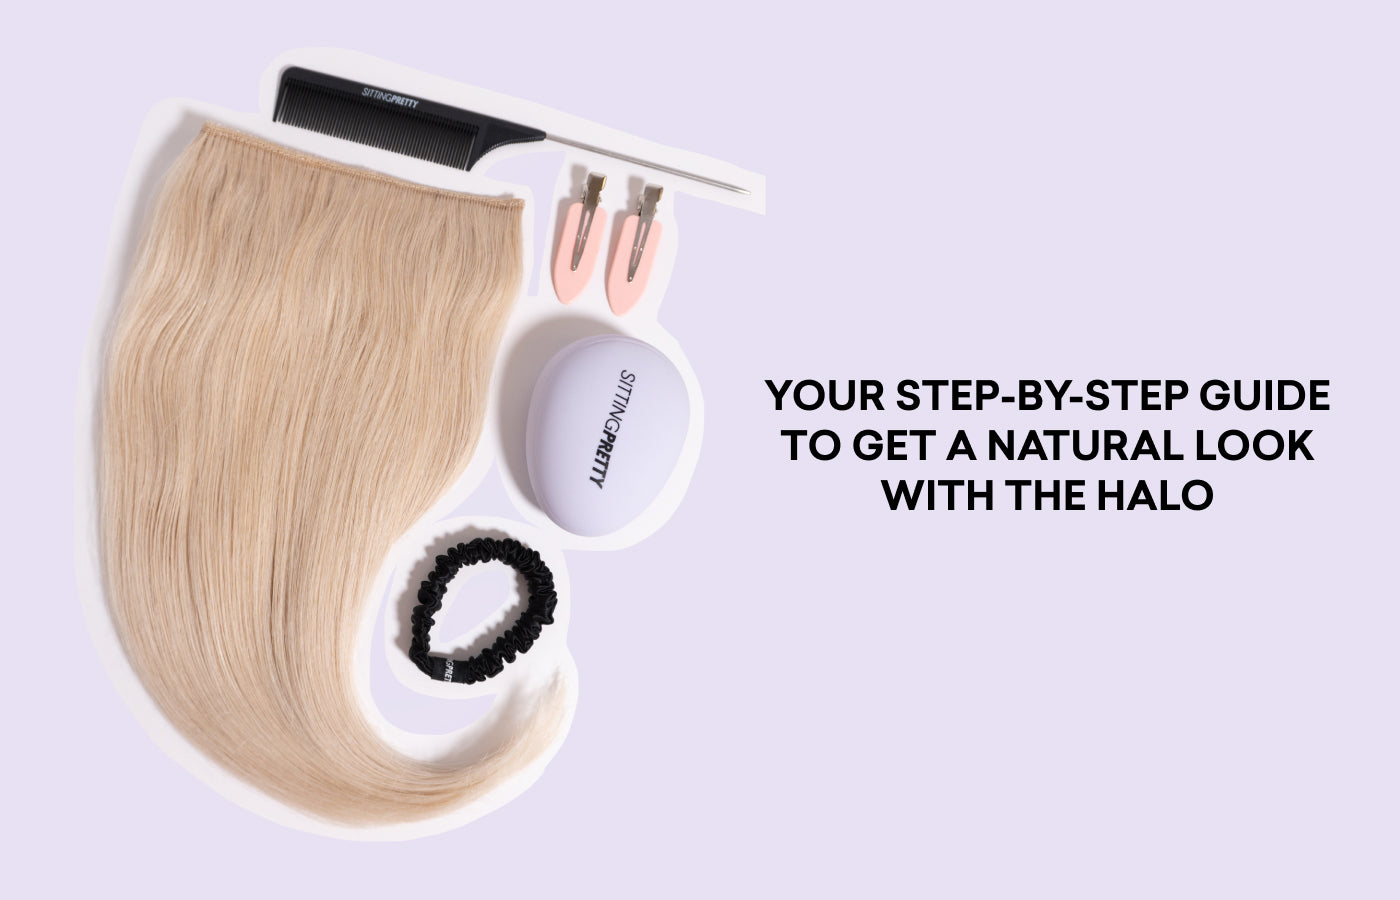
Your Step-By-Step Guide To Get A Natural Look With The Halo
Take our advice for hair that looks like you, but you'er.
In this article
Those of us with thin and fine hair can only rely on volumising and thickening shampoos and mousses to a certain point. Sometimes, we need the pros. And in this case, they're hair extensions.
Hair extensions, when done right, are invisible; discreetly hiding beneath your natural hair. But, getting that look is easier said than done—even with The Halo.
So, we're here to help you get more good hair days with The Halo. Keep reading below for all the steps to get a natural look with Halo hair extensions!
1. Choosing The Halo
There are two things you need to know when picking a Halo to use: its colour and thickness.
What You'll Need:
- Your phone
- Your hair goals
How To Choose A Halo
- Check your natural hair's thickness and what you'd like to achieve with The Halo. Do you want volume? Extra length and volume? Or a ton of length and volume?
- Next, go to your window where there's natural light.
- Take a bunch of selfies of your hair on the front, side, and back so you can see the depth of your natural hair colour.
- If your hair has balayage or highlights, focus on the ends of your hair. This is where The Halo will be most seen so it's important it matches that part of your hair.
This is the simplest way to pick a Halo colour. Each one comes in Fine, Medium, and Thick styles to suit your taste. For more tips to finding your colour match, watch this:
Read Next: 5 Ways To Conceal Hair Loss
2. Prepping The Halo
As much as we'd love for Halos to be an open-and-wear type of situation, there are some steps you need to get the most natural look out of it.
The Halo, unlike other hair extensions, is made with 100% ProGrade Remy Hair. This means it's pure human hair that's been sealed with chemicals to maintain its look for months.
What You'll Need:
- Gentle Shampoo and Conditioner
- A hanger
How To Prep The Halo
- Run your water on warm and soak the hair.
- Once The Halo is wet, take the Gentle Halo Shampoo and squeeze out enough product to cover the top half of the hair extensions.
- Gently massage the shampoo into The Halo. Don't scrunch it or rub the hair together to prevent tangles.
- Put a bit more water on The Halo to help spread the shampoo from root to tip. One wash is enough.
- Rinse The Halo under warm running water. Tip: Make sure to position it vertically against the water so it's running in a downward motion.
- Grab the Gentle Halo Conditioner next and run your fingers through the extensions to distribute the product and remove any knots.
- Rinse it well and squeeze the excess water out.
- Hang it on a coat hanger or a drawer and let it air dry.
Want to see how others wash their Halos? Watch this video!
Read Next: Embrace Your Greys: The Ultimate Guide To Choosing Grey Hair Extensions
3. Cutting The Halo
Each Halo thickness comes in different lengths. You can choose a Fine Halo that's 16 inches long, or a Thick Halo that's 12 inches long.
Depending on the look you're going for, you'll most likely need to either give it a cut or at least a trim so it seamlessly blends with your natural hair.
What You'll Need:
- A pair of scissors, or an appointment your hairstylist!
- A hairstyle with feathered ends (Tip: If your hair has just been freshly cut, request for tapered ends. This makes the transition easier between your natural hair and The Halo.)
How To Cut The Halo
- Wear The Halo, making sure it fits snugly on the occipital bone of your head.
- Examine where your hair ends and where The Halo is most obvious. This is so you or your stylist can see where the disconnect is between your real hair and the hair extensions.
- If you want the hair extensions to just give you volume, cut it to the exact same length as your real hair. Of course, if you want length, then go longer.
- Make sure the freshly cut ends of The Halo aren't blunt. Just like your real hair, the ends should be tapered or feathered.
- If the transition still isn't that smooth, give the front pieces of your hair some face-framing layers. Layers are key to achieving a natural look with The Halo!
See the difference of a freshly cut Halo in various thicknesses on natural hair:
Read Next: The 15 Best Hair Oils, According To Your Hair Type
4. Styling The Halo
At the end of the day, the way your Halo sits on your hair depends on how you style it. Waves and curls are popular with blending The Halo to your real hair, but if you want a straight look, you can totally achieve that without revealing your hair secrets!
What You'll Need:
- Heat protectant spray
- Straightening iron
- Texturising spray
How To Style The Halo
- Spritz heat protectant all over your hair and the hair extensions. You don't want to fry any natural or faux strands now.
- Place The Halo on your head.
- Take your straightener out and make sure it's hot enough. The fewer passes done on the hair, the better.
- With 1-inch sections of hair, use the straightener to bend the ends inward, creating a soft blowout look. Tip: If you have face-framing layers, this style will make it look so good.
- Move on to the other side of your head.
- Spray texturising mist to make it look thicker and kind of lived in.
Watch this easy tutorial to styling your Halo straight!
Now you know everything there is to know about making your Halo look natural. Go ahead and try it for yourself!
Need more Halo styling tips? Read these:

Just high quality, beautifully designed halo hair extensions for natural, down to earth bombshells.
Shop now