2200+ 5 star reviews
Chat now! We're online and ‘hair’ to help.
Chat now! We're online and ‘hair’ to help.
 2200+ 5 star reviews


IN THIS ARTICLE
Dyeing your own hair has been around forever, but it's became a bit of a hot hobby in these last few years of quarantine. As one of Google’s most searched items in 2023, the desire of dyeing your own hair at home hasn’t lost its momentum with box dye sales higher than ever. If you’ve been taking the long way to the register lately and find yourself wandering the dye aisle, here’s a guide to get you to the next step: dyeing your own hair at home.
Read Next: Hair Makeover: 20 Blonde Hair Colour Ideas
We hate to be the bearer of bad news, but yes! Which you might’ve known if you’ve ever encountered even a little dose of dye. Bleaching usually gets the bad rap for breakage, loss of hydration, and the crispy, dry scalp feeling, but any permanent dye will change hair beyond just needing a new halo colour!
If you didn’t know, your hair is made up of 95% protein. Up close, your strands of hair look like they have little roof shingles on them, designed to protect from UV rays, heat, and moisture. The formulas used in dyeing your hair, whether in-salon or you’re dyeing your own hair, create a chemical reaction that lifts these proteins and deeply penetrate the hair strand. That’s where the colour changes! And while chemicals are giving you a braggable new ‘do, they’re also bringing with them the harshness of those chemicals: welcome, dryness and damage.
That said, it’s not all bad if you know how to take care of your hair pre and post dye job. Follow this guide and you can curve some of that potential damage (or at the very least, a botched job!)
Read Next: A Protein Packed Hair Treatment With Egg
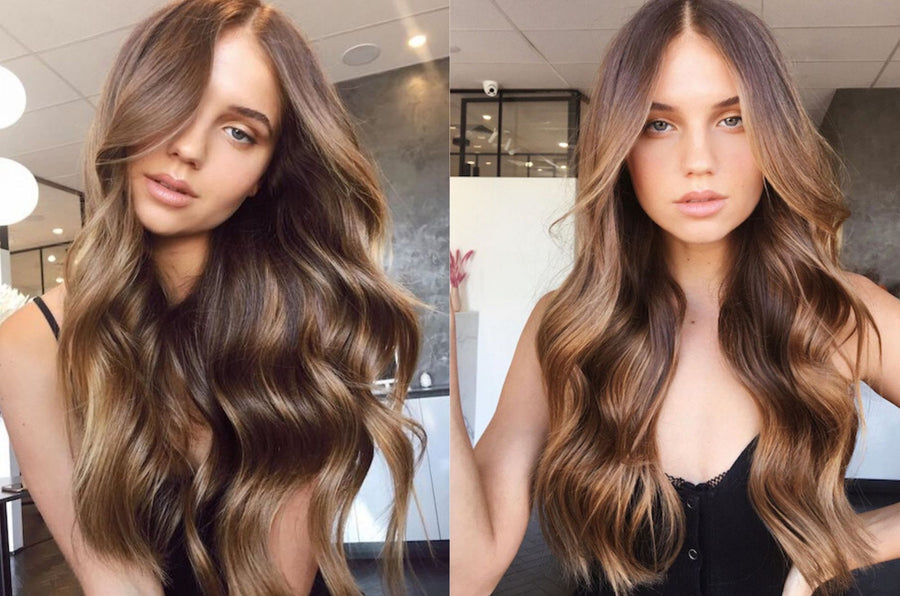
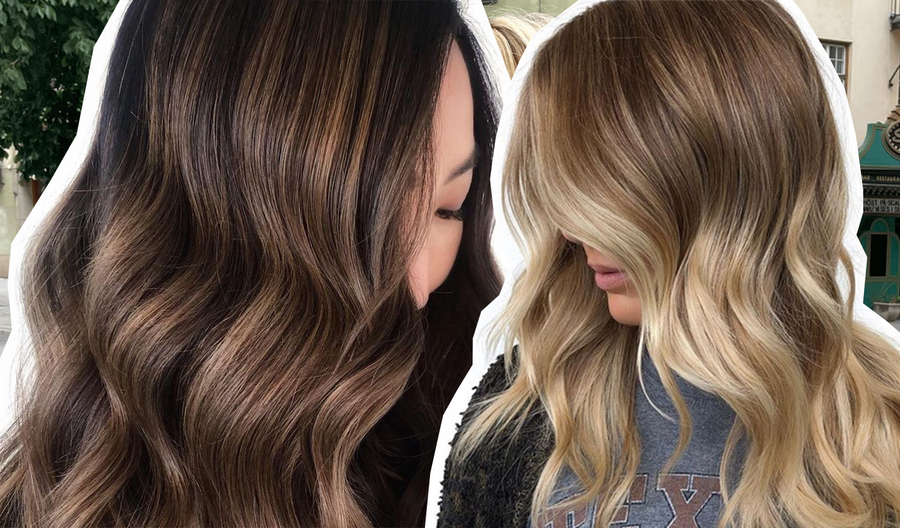
We love options. And with hair dyes, you’ve got almost too many of em! For picking colour, keep it simple. It feels like you can buy just about any look, but if you’re dyeing your own hair, be realistic about what a DIY job and your skills can do. Here, it’s best to only go a few shades darker or lighter when dyeing your hair at home.
Beyond colour, if you’ve ever I’m-just-looking’d the dye section, you may have seen both liquids and mousse formulas. The difference between these is: mousse is more translucent, giving you a shimmery, iridescent effect after it’s applied. Where the classic liquid dyes are traditionally more opaque and give a more punchy, pigmented look.
Once that’s nailed, make sure you grab enough dye! If you have thick hair or long hair, grab 2 boxes. The last thing you want is an empty bottle and only half a head of dye done. Trust me, it’s worth it to have even though you *might* not need it.
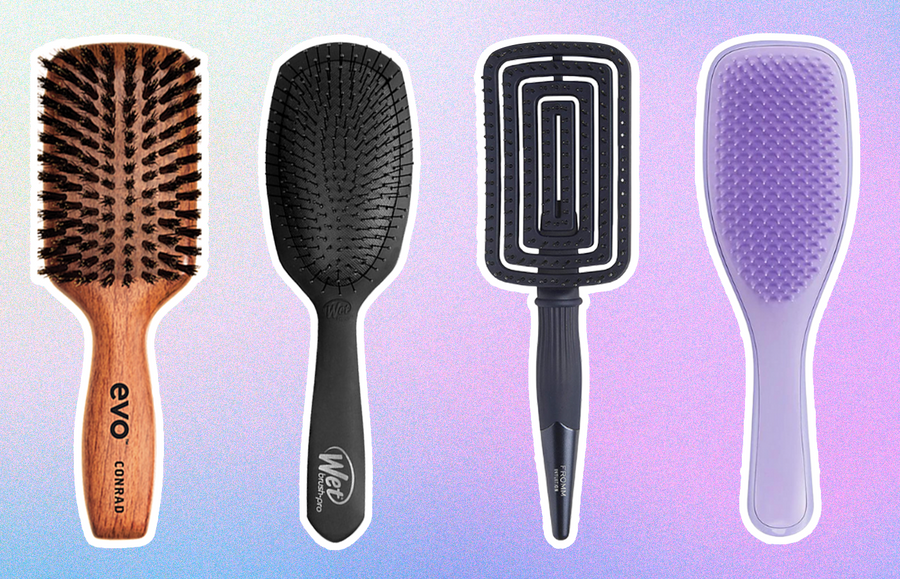
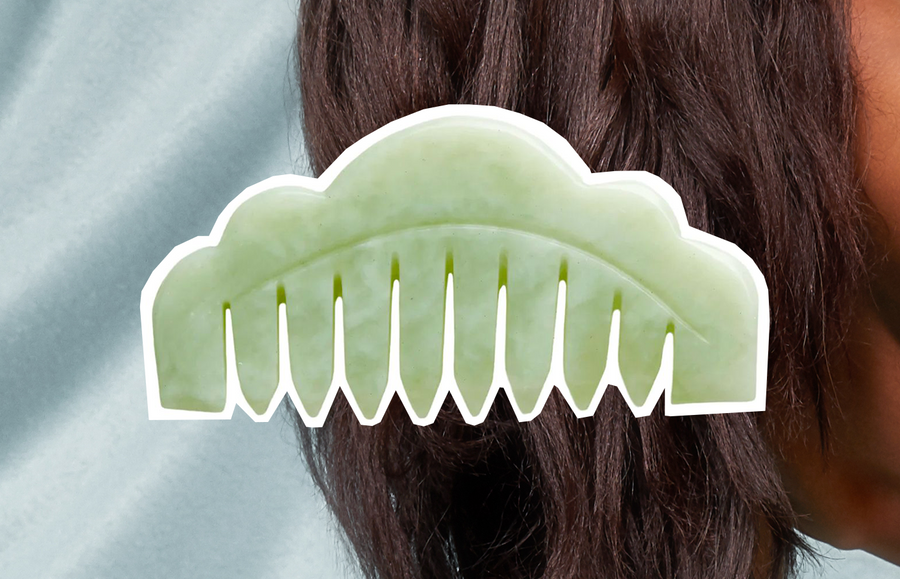
Get even closer to salon quality with the right tools! You’ll obv need an old towel and a shirt you don’t mind ruining for the big dye job, but get a professional dye brush for perfect application.
Using just your hands, especially in those plastic gloves that come with your dye, can lead to splotchy, uneven colour. These inexpensive brushes help glide colour on especially well at the root when you section your hair (another major tip coming at you below).
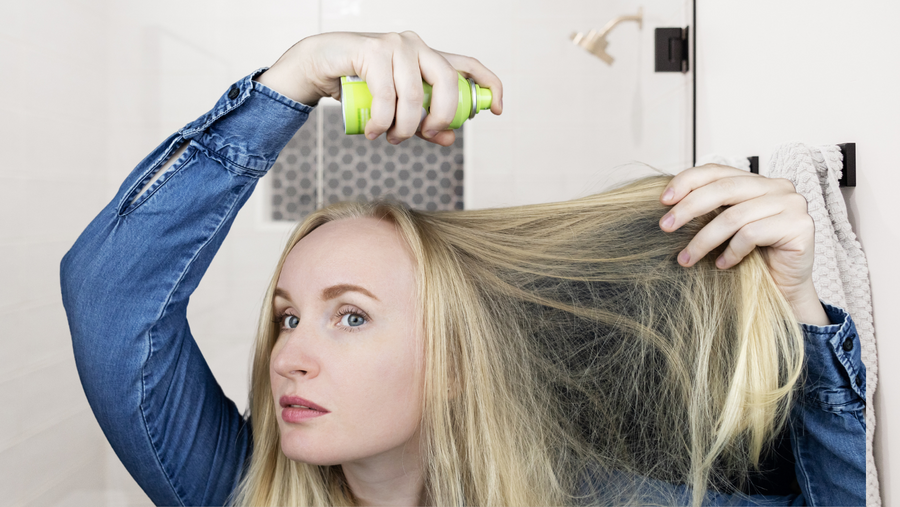
Should you wash your hair before dyeing? Rejoice! It’s a big no! As someone who went platinum for a few years, the dirtier your hair is the better your scalp is gonna feel. The natural oils that your scalp produces (scalp sebum) help protect your delicate scalp from burning, itching, and drying from the harsh chemicals and bleaches. They’ll also help the follicles at the root from being overly penetrated!
Now, if you LOVE styling products and have a ton of product buildup, wash your hair no less than 24 hours before you dye your hair. The longer the better, but scalp sebum is a natural protectant, where old hairspray and dry shampoo are just covering your locks.
Read Next: Hair Makeover: 20 Brunette Colour Ideas
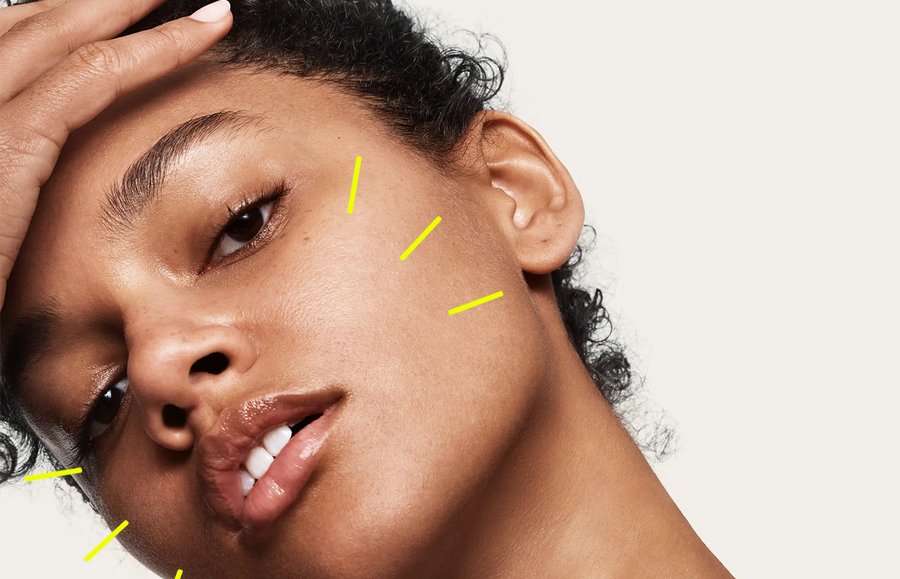
Nothing says “I dyed my own hair” like a dye-line forehead. To give the illusion of a salon session, prep your hairline with a petroleum jelly, like Vaseline. By lining the forehead/hairline with jelly, the dye won’t penetrate your skin there, giving you a clean line.
To be extra safe, once you’re done dyeing, promptly wipe any skin that got dye on it. You can use isopropyl alcohol anywhere the dye splashes (like nose or arms).
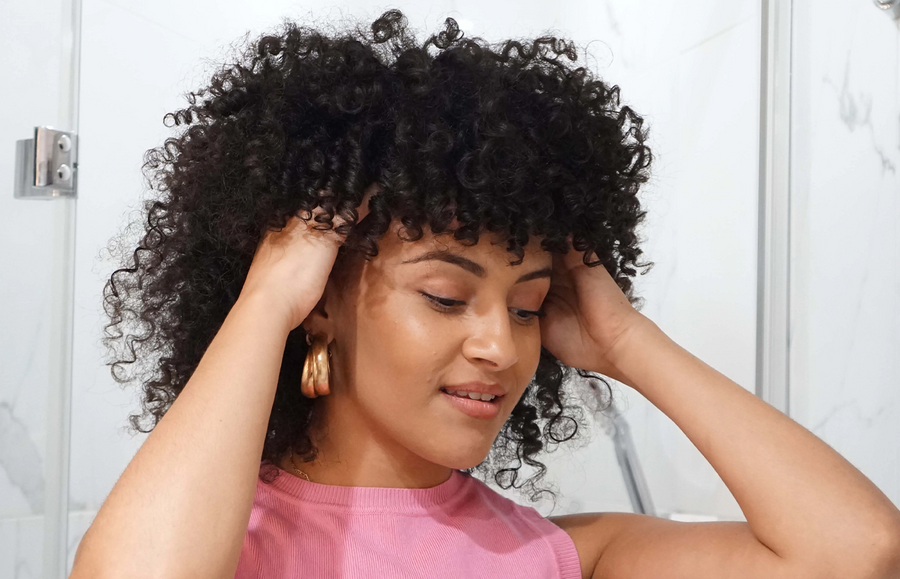
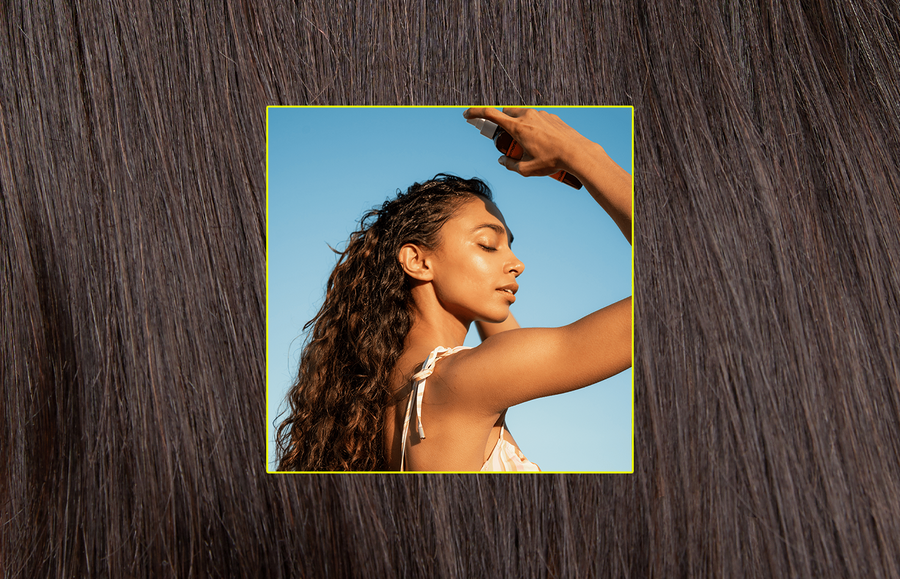
Whether you’re dyeing your hair at the salon or at-home, it’s bound to fade! The same way blondes need to maintain their mane with purple shampoos, non-blonde shades need the right care products too.
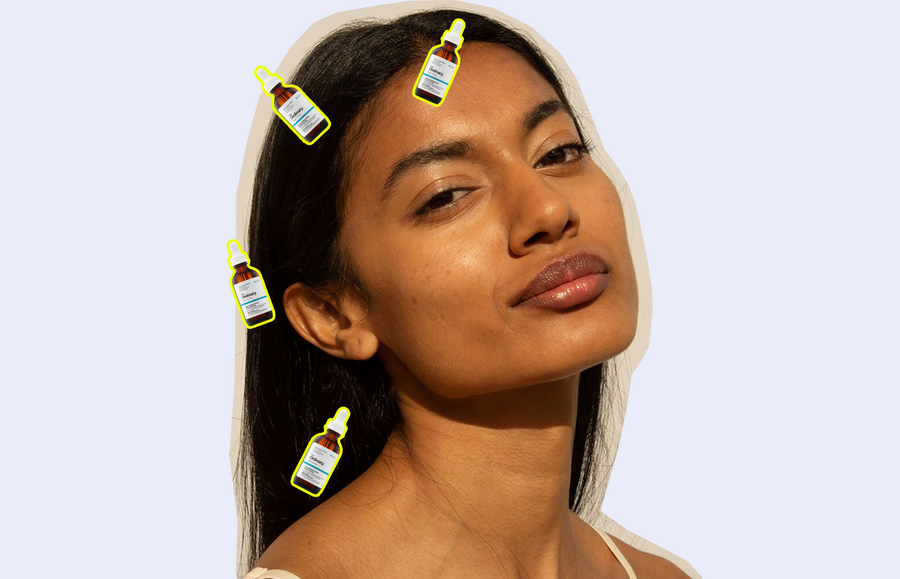
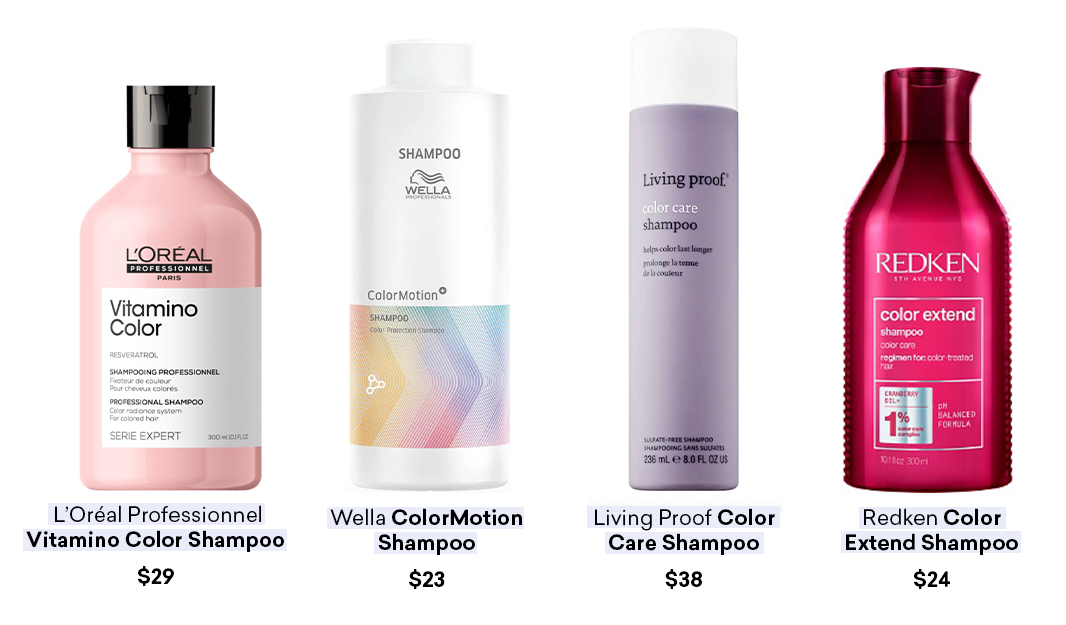
Use coloursafe shampoos and conditioners to keep your dye as pigmented as possible. These are often formulated with less sulfates and soaps so they don’t strip the colour as much. Great for non-dyed hair too, look at the ingredients and make sure sodium lauryl sulfate, sodium laureth sulfate, and sodium chloride aren't included.
You should definitely hydrate hair after bleaching, but it’s important for darker shades too as both dye types are drying! While a colour-protective shampoo and conditioner is crucial for maintaining your colour, you can find shampoos that are hydrating AND sulfate free, like Olaplex’s Bond Maintenance Shampoo. Ones like this are great for regular hydration to hair if you’re too on the go for hydrating treatments.
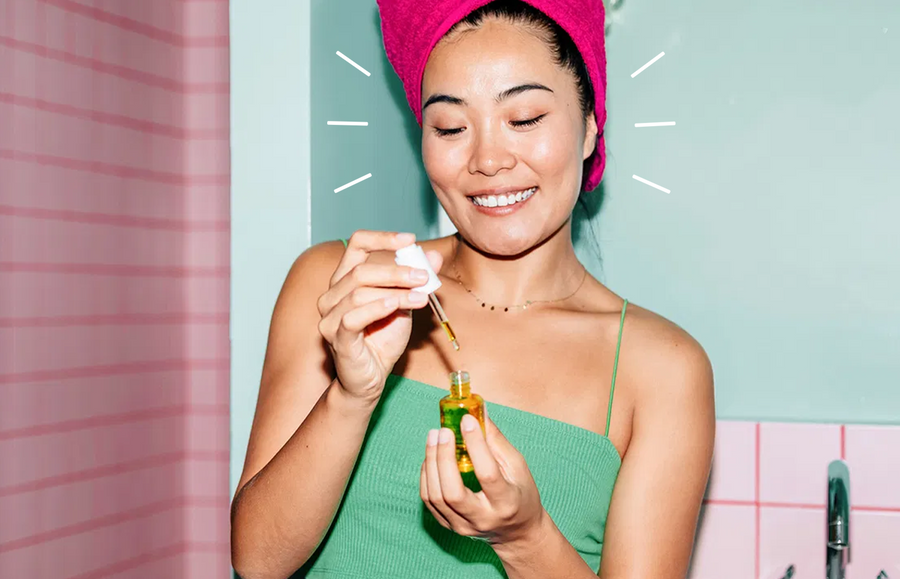
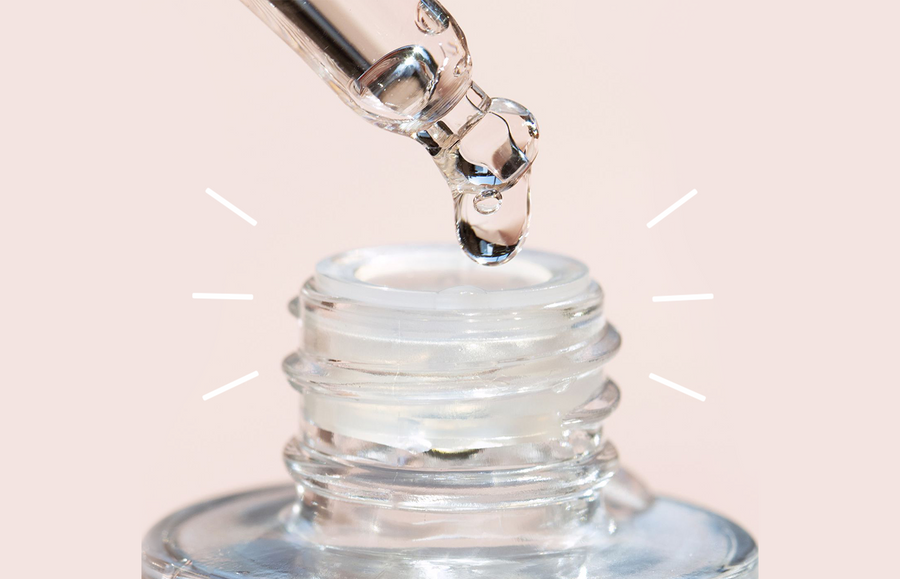
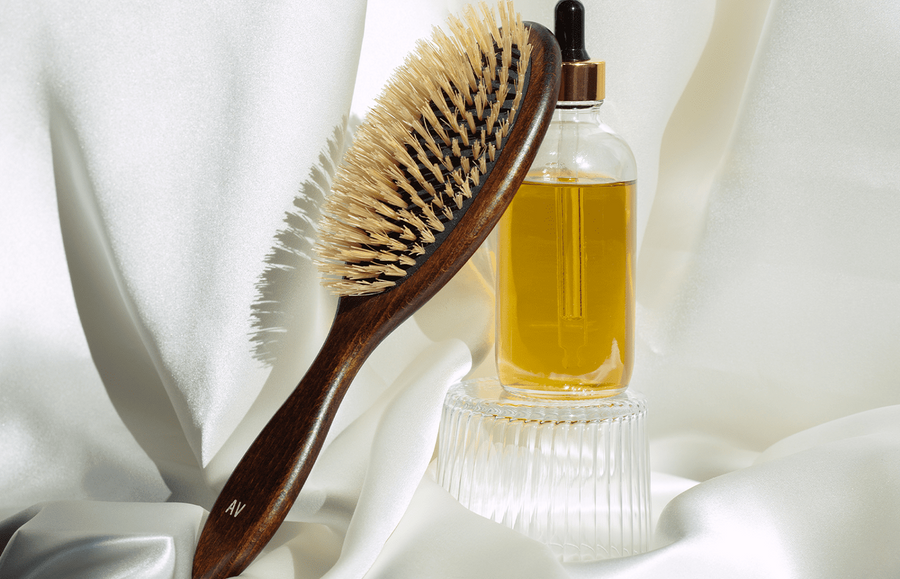
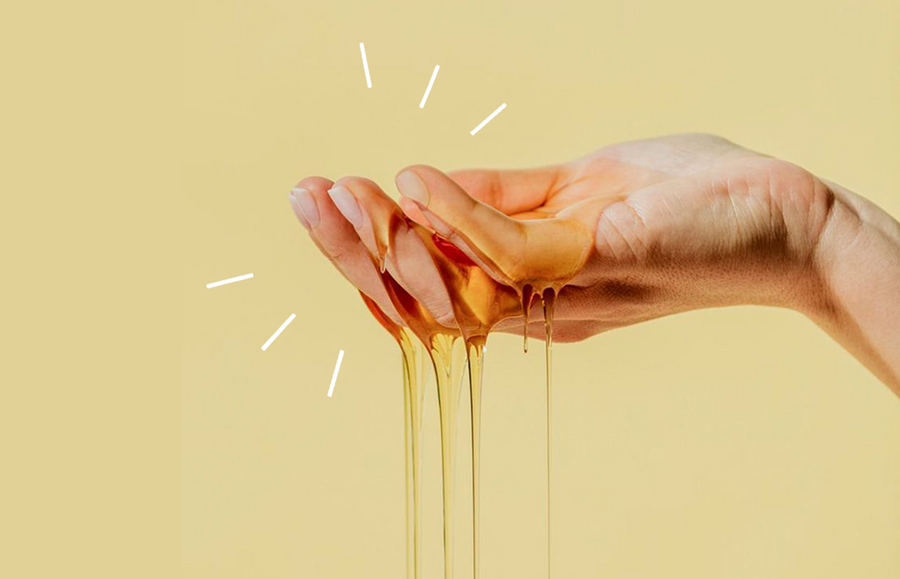
Want even more low-maintenance? For daily use, use a hydrating hair oil to finish your look. These add a little boost of hydration and help smooth styles too.
1. Slugging Skincare: Is Slugging Good For Your Skin? Also, What is That?
2. How to Clean Your Hair Brushes Because Yes, They're Harming Your Hair