2200+ 5 star reviews
Chat now! We're online and ‘hair’ to help.
Chat now! We're online and ‘hair’ to help.
 2200+ 5 star reviews


IN THIS ARTICLE
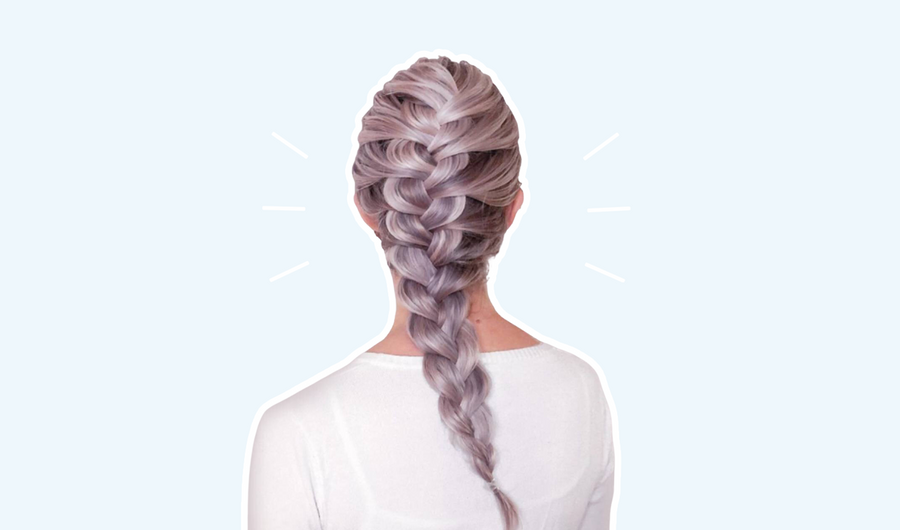
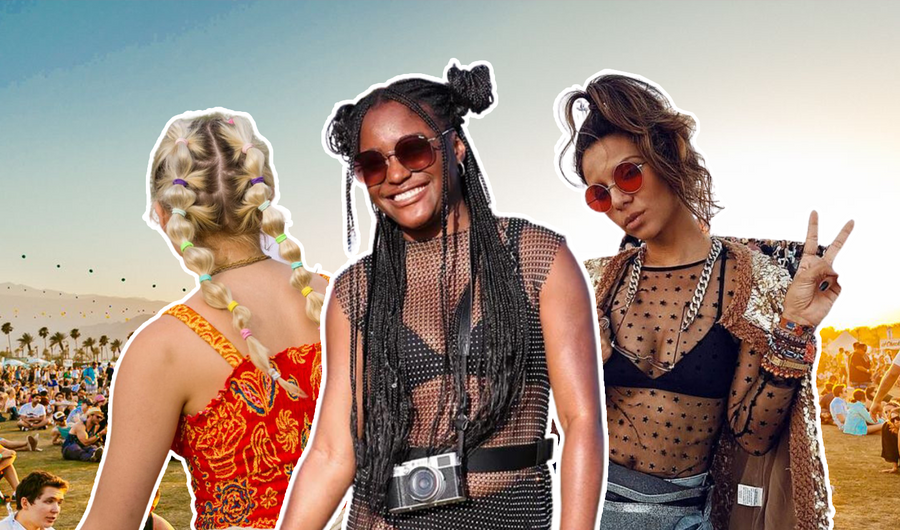
Trying to achieve that gorgeous boho braid look?
Me too, but most of us girls need a little more hair to get it right.
When I'm putting effort into a braid, I want the braid to look thick and voluminous.
Although with fine hair, I'm sure you know it can be tricky to avoid your braid looking like a fine piece of rope (thin hair problems, sigh).
Which is why my SP halo is essential.
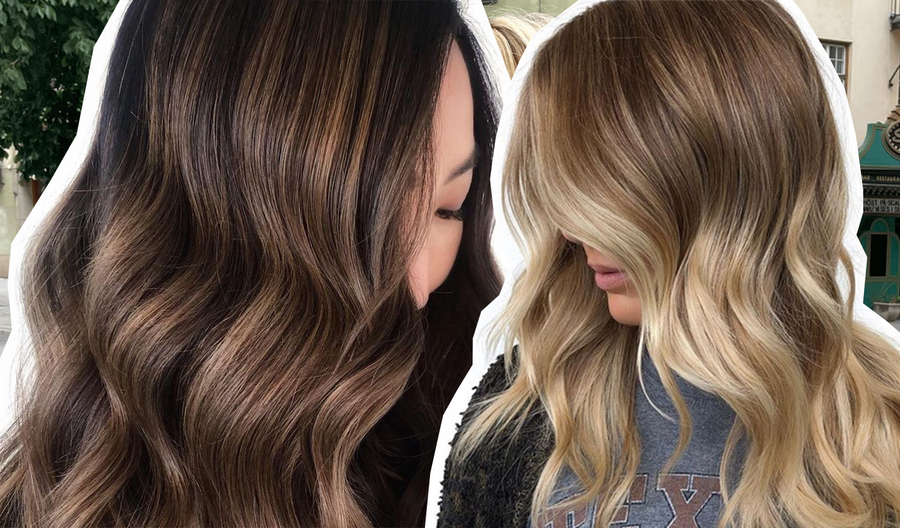
Here, Jordan Simek shows us how to create the perfect messy braid, using her THICK halo in col. Beige Blonde + Dark Blonde 613/10 to add extra volume and length.
You'll need:
Now watch the video below to master the boho braid in just 10 minutes.
Subscribe to our YouTube channel here to see our latest hair styling tutorials.
You might also love:
[Full transcript]
Hey guys, welcome to my second YouTube tutorial with Sitting Pretty.
I'm gonna be creating this beautiful inspired bohemian messy braid look that I did for the races this year.
I got a lot of requests on Instagram of how I created this look and how fancy it looks, but really if you break it down it's actually quite simple.
I'm gonna be showing you how to do it from start to finish.
So for this look I really wanted it to be a big beautiful bohemian messy braid, and because whenever I braid my hair - and I'm sure it happens to everybody else - it seems to shrink like half the size (and I really wanted the length in this look with a lot of volume) so I've decided to use my thick halo hair extensions.
Because it is a messy braid you don't necessarily need to worry about curling the central piece or your own hair because it's not going to be seen.
I'm actually gonna just leave it the way it is, it's just got curls from the last time I used it that have completely dropped out but you won't see that when creating a look like this.
You really just want to make sure that you've got a lot of texture in your hair, and for me I personally like to use the Eleven sea salt spray and then the texturising body spray as well.
Now that you've got the extension piece in it's probably going to look a little bit funny because you've got your natural hair that's quite straight and then the extension piece which for mine is quite curly, but it's all gonna be hidden into the braid so don't freak out.
Okay as I said before it's all about the prep of the hair, so you can get that texture and that body before you start and do the braids. So what I'm going to do is I'm gonna grab my sea salt spray and I'm gonna place it in the roots of my natural hair which needs a bit of texture.
And then with that, I'm going to go in again with my body spray, my texturising spray, and do it in the roots as well.
You can already see it's kind of a little bit gritty now and this will be really really beautiful all together.
So second step after you prep your hair, I'm gonna turn to the side to show you guys what to do.
You want to create a half updo. You'll probably be able to see a little bit of the extensions at the end but you'll be able to cover that with the braid when we're done.
Just know that it doesn't have to be super super tight, it doesn't matter if you have falling out bits, it's kind of good to create that extra messy look.
Tie it just here and don't pull on it too much because what we're gonna do with the next bit is going to flip it inside itself to create that really beautiful twist at the back.
Now what I'm gonna do now is I'm going to show you the twist of the back, we're basically going to flip it inside itself.
I've pulled it a little to tighten it, but once you've done that just pull a little bit of your hair forward.
Alright, now we're onto the braid.
So what you want to do next is you want to grab that little mini ponytail up and you want to split it into three sections. Now with that you're going to braid underneath each other so like this.
Okay once you've done that you're going to grab little bits from each side and bring them into the braid.
Now that you've finished the braid, you basically just want to tie that off. I would personally - if you have access to one - use a clear hair band, but I don't have one of those right now so I'm using this one but I will show you how to make the hairband disappear.
So that's that, that's the braid. I just pulled out a little bit of it just to make it a little bit more messy. If these side bits haven't already come out from you just pushing a hair forward, what you can do is actually massage the sides of your hairline and they should be able to just naturally fall out. And we're going to deal with these later.
Now with your ponytail what you want to do is you want to grab a piece from the end. Like this, just a small piece, and you're going to use your texture spray just to coat that as much as possible.
What you want to do is grab a bobby pin. Poke that up underneath the elastic like so. Grab the length of the hair and just wrap it around the elastic. What you want to do is you want to thread the end of your hair through the bobby pin.
It might not take the first go, so give it a couple of goes.
And once you've wrapped that elastic you want to curl the end of this pony so it looks a little cleaner. Grab your hair straightener and go downwards. There you go, just a nice simple curl at the end. And we're going to brush it out to make it softer.
And then we're almost done...
Now second last part:
You want to grab your fabrics scarf and you want to thread it through the top half of our braid.
So you may feel a little bit of sag either side just because that's where the braid had started. So what you can do is you can grab a bobby pin and just secure them underneath that braid.
Now that's the back of the braid done.
I just tied my scarf in a simply knot but obviously you can tie it in a bow or a half bow, whatever you're feeling.
Now that we've done the back of the hairstyle and I want to focus on the front a little bit more with these little bits at the front.
And what I want to do, instead of them falling on top of my face, I want them to frame my face really beautifully.
So I'm going to curl each side away from my face.
I'm just going to grab these little bits, and curl them with the straighten away from your face like so. They don't have to be full ringlet-y, just a really soft curl.
If you want to make a little bit more piece-y I just grab my sea salt spray and rub it on my fingertips, and just separate these little bits more so they're not so ringlet-y.
Alright it's pretty much done.
Now if you feel like you don't have enough volume on the top of your head, you can always go again with your texture spray or if you've got texture powder.
You just spray on the roots, just wait for that sitting a little bit and then just like shake it out a little bit more so it's got a little bit more volume.
Guys so this is the final look done and dusted.
I am no hairstylist by any means, I just like to play around with my hair and this is something that I just came up with for a race day inspired look but you can literally wear this anyway you like.
Alright I finished up this look with a beautiful red lip and now I am done.
Thank you guys so much for watching this video, hope you really enjoyed it a lot about creating a beautiful messy braid.
I would love to see you guys recreate this look on yourself, so if you do create this look and post it on Instagram make sure you tag me and Sitting Pretty and on that note, make sure you guys subscribe, give us a thumbs up and write any comments below or questions that you guys have and I cannot wait to show you guys what else I'm working on with Sitting Pretty.
Enjoy! Like Jordan mentioned, if you try this look tag us @sittingprettyhalohair on Instagram and leave a comment below if you have any questions.
Read next: